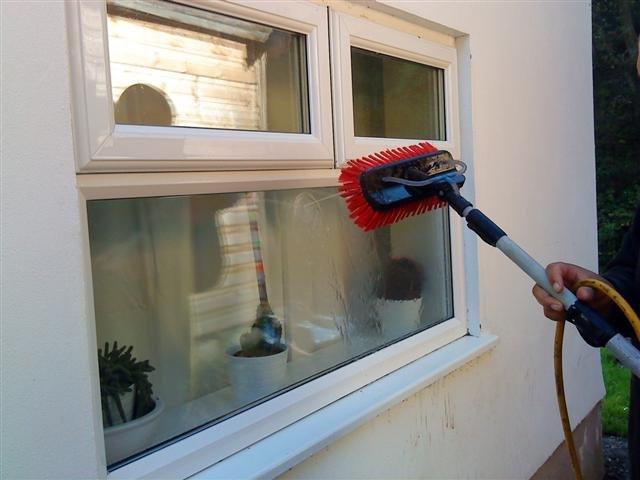
With uPVC windows, a whole generation of homeowners found that they could have inexpensive and very durable door frames, window frames and conservatory units. They looked great and they were very easy to look after. However, after a certain amount of time, uPVC can start to look a little worse for wear. And that can be a real headache. Of course, you could replace them with something new. Alternatively, you could do what many homeowners are doing these days, and simply have them repainted.
That’s right, repainting uPVC windows is a real possibility. And it’s becoming a common solution to faded or damaged uPVC. It’s not something we would recommend you do yourself, because it does require the right tools and a professional level of skill to get the right finish. You can, however, help to make the process easier by preparing your uPVC windows for painting. It’s quite simple, and it shouldn’t take too long to do.
The one thing you have to remember
You can do a lot towards making your uPVC windows ready for painting, but there is one aspect that many people don’t always understand. You can’t paint brand new uPVC. Now, this should not be an issue for many people who want to have their uPVC painted, because they will have had the windows for many years.
The whole uPVC thing really became huge in the 1980s, and a huge number of properties were built as new with uPVC windows. These days, a new set of uPVC windows in white, while possible, would be hard to find. It’s much more likely that it is an old set of windows that needs updating. However, if you have a brand new set and feel the need to paint them, check with a specialist firm first. It simply may not be possible.

How to prepare uPVC Widows for painting
Like most decorating jobs and processes, it is essential that you have a perfectly clean and clear surface to work with.
Step 1
Grab a clean, dry sponge and brush off as much of the surface dust and dirt as you can. This is where the bulk of the work is. It’s important that the surface is as clean and clear as possible. So take your time, and be as thorough as you can.
Step 2
Wet the sponge and give the surface a good wet clean. This is all about giving it a good clean to get rid of any lingering surface dirt.
Step 3
Get some uPVC cleaner and apply it to a damp cloth. Work the cleaner into one section of the surface at a time so you can keep the effect uniform.
Step 4
Use a dry cloth and buff the surface so that you now have a clean and dry uPVC window.
With this level of preparation, you should find that your windows are ready for a repaint.
Request your Free Quote
You can save up to 75% by Spray Painting. Please fill in your details and one of our friendly representatives will call you soon.

